Astrophotography Exposure Stacking
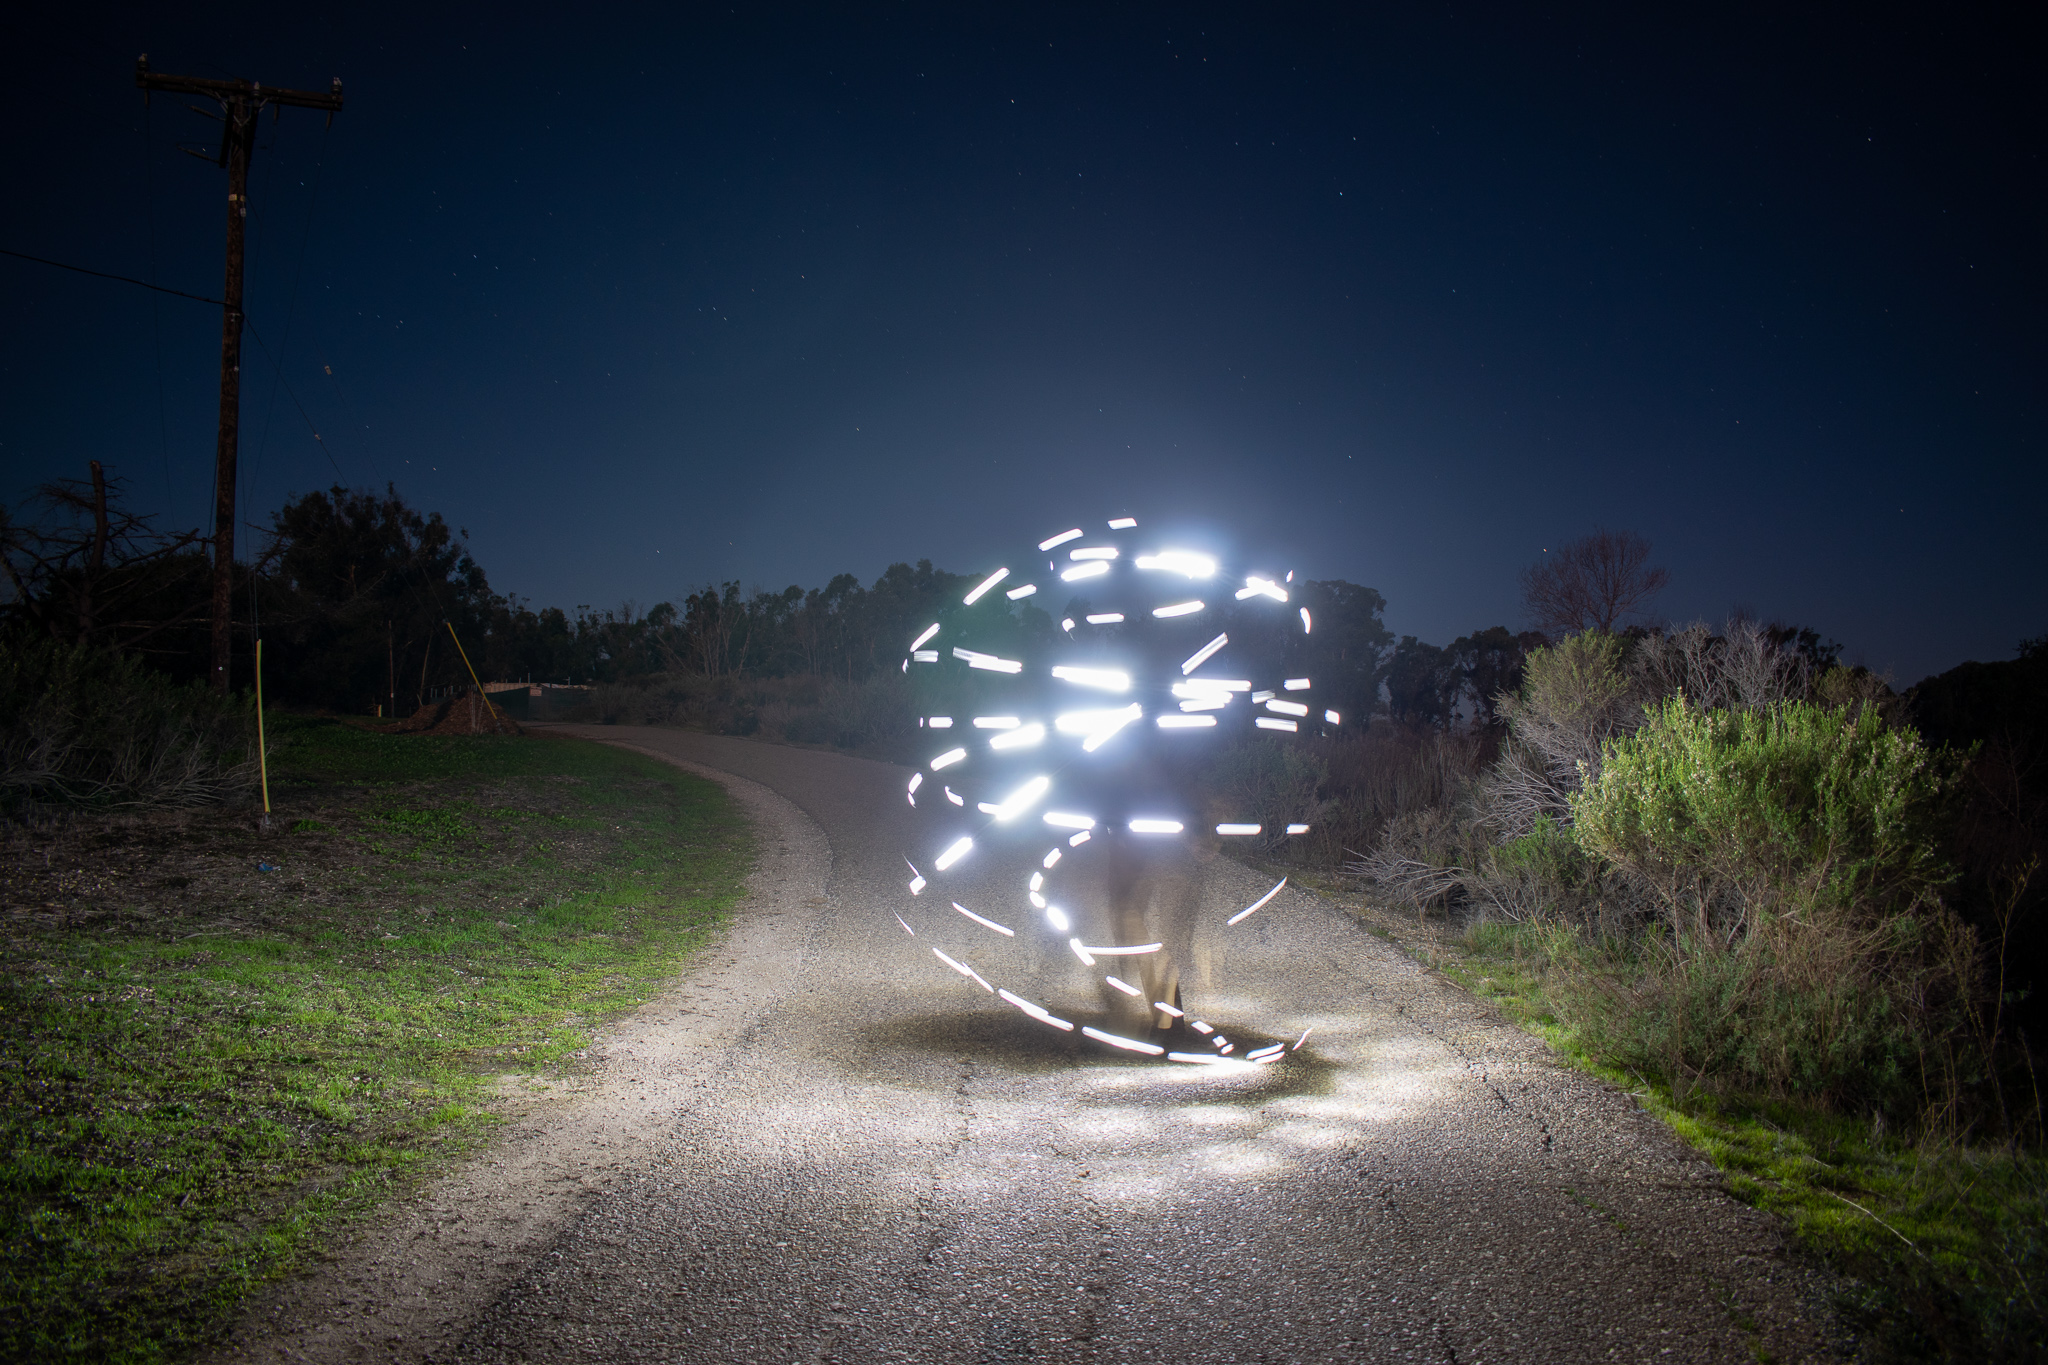
This past weekend I was visiting some friends in Santa Barbara, California and brought my camera and tripod with me. Aside from taking typical touristy pictures I spent some time in the evening with a friend learning about long-exposure and astrophotography. Long-exposure is a lot of fun to play with, and creates some pretty interesting effects:
When I turned my camera towards the sky however, things were a little different. The moon, for example, was extremely bright compared to the rest of the night sky. That meant it was extremely difficult to expose a photograph with both the moon and its surrounding stars.
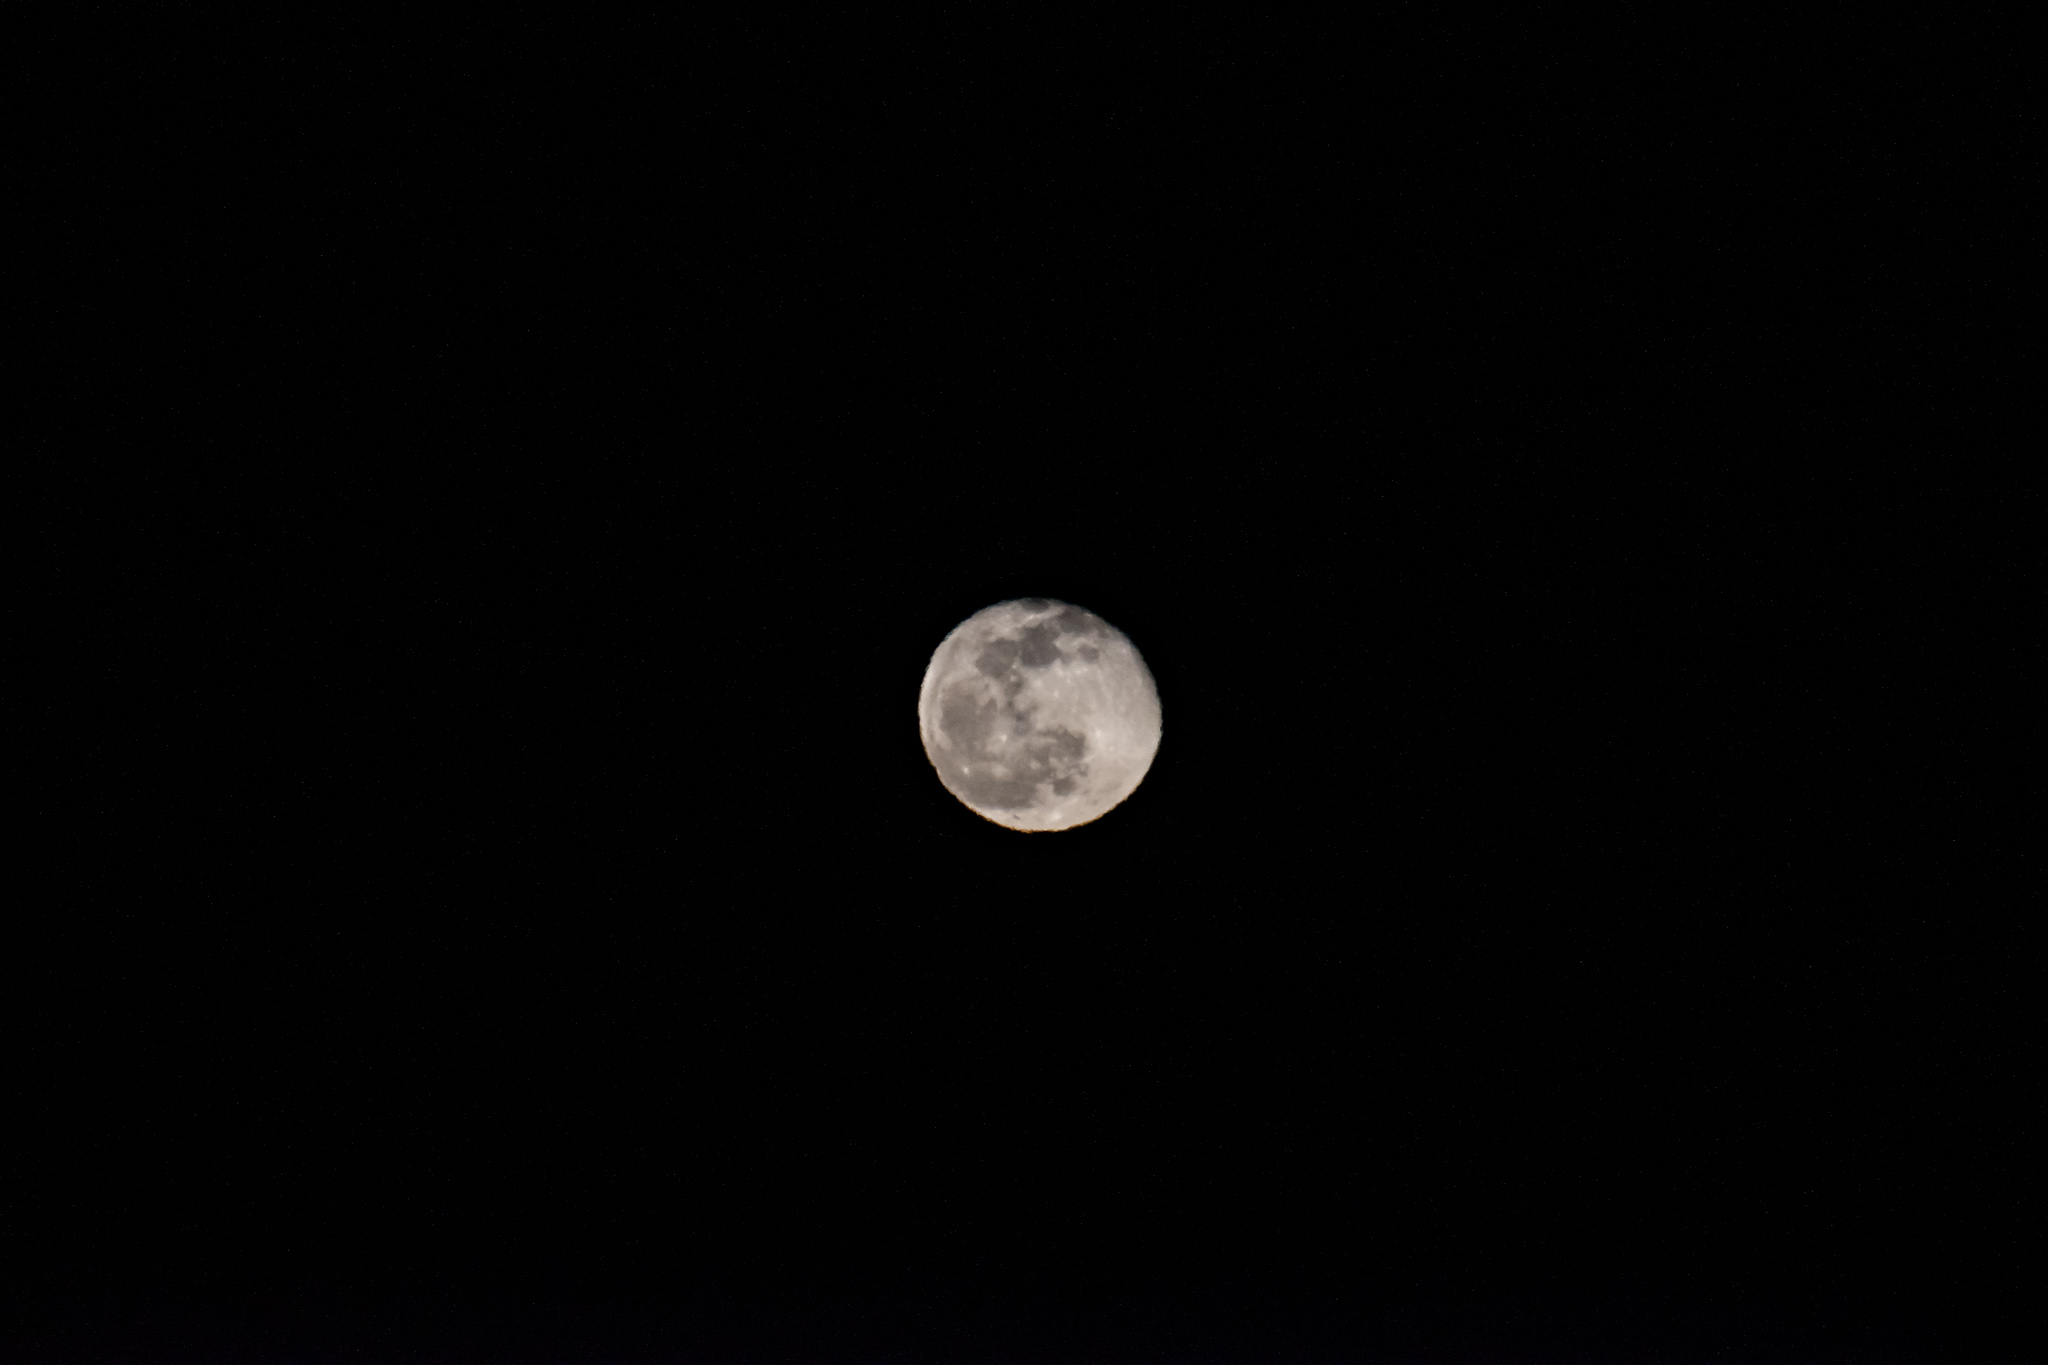
Another thing I noticed was the “waviness” of the moon: If you look closely, the edges of the moon are not very sharp. I suspect this to be caused by astronomical seeing, where turbulent airflow within the Earth’s atmosphere interferes with moonlight traveling to my camera. I’m currently working out how to mitigate these effects, perhaps through the combination of better hardware (a telescope!) or software (something similar to focus stacking?).
Turning my camera to the stars, the first thing I noticed was light pollution. I tried to mitigate its effects by stationing myself on the beach away from the city lights, but it still bled into my field of view. So I learned not to underestimate the severity of light pollution. I hear Joshua Tree is a great location for this reason, so I’ll have to try that sometime.
Regardless of the light pollution, I tried out an exposure stacking technique on some scenes and stars. Instead of taking one long single exposure with my camera I took multiple shorter exposures and used a computer program to blend them into a single photograph. The purpose was to deal with the rotational effects of the Earth against the fixed stars in the sky. For exampe, if I took a single 40-second exposure of the night sky my photograph will have star trails like this:

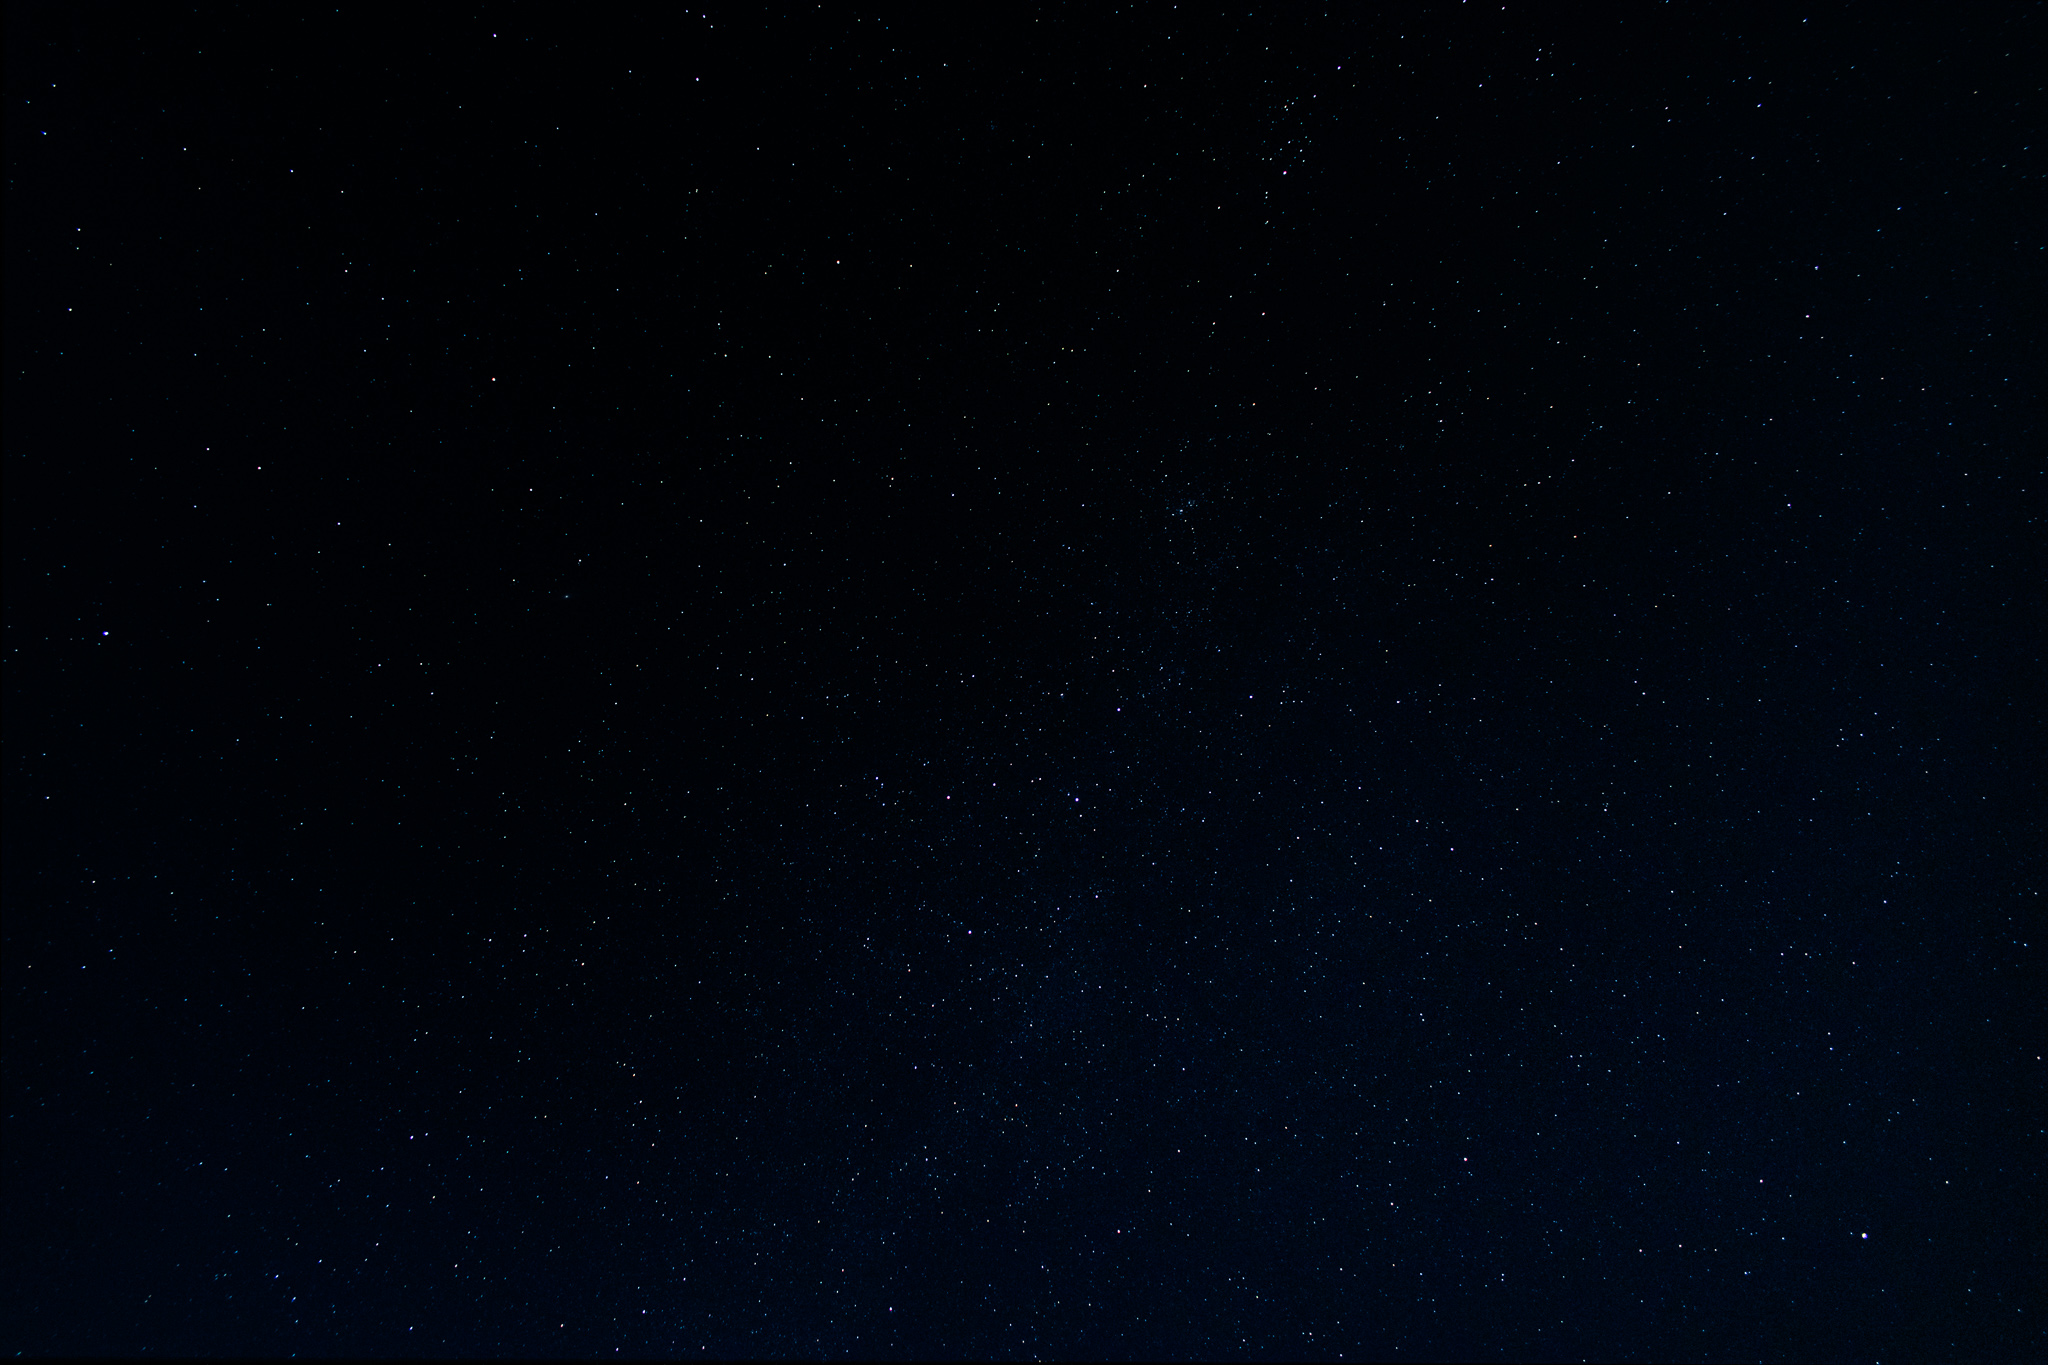
The smearing at the top left of the image was not what I was going for, so my exposures were too long. However, if I took shorter exposures I might not capture the starlight I was looking for. So I take several 10-second photos and combine them on my computer to avoid the smearing effects:

I wrote a simple OpenCV python script that aligns the independent starfield images together and blends them all together to form the image seen above. The script is part of my computational photography github repo, check it out for more details!
In short my script employs a template matching algorithm called Parametric Image Alignment using Enhanced Correlation Coefficient Maximization that tries to find a combination of rotation and translations of one image such that it best overlays on top of the other image. Once the images are aligned, the script then sums the photos together, yielding an image with the effective exposure time of 40 seconds without blurring the stars. The way this works is similar to how Google’s Pixel phones perform their astrophotography feature.
I must say however that there is an alternative, tracking-based method to avoid star trails by slowly rotating the camera through an exposure period. This requires a precision-built, calibrated pan-tilt mount for the camera which is quite expensive and requires a lot of setup. However, a tracking mount allows much longer exposure shots and may capture much dimmer targets like the Milky Way. I’ll put it as a challenge to myself to capture the Milky Way and some galaxies using a non-tracking telescope; I think it should be possible to use this exposure stacking technique to achieve the same effects as a tracking camera.
Finally, I wanted to get rid of the blue tint dominating the bottom right half of the image. I wasn’t sure what causes that tint, maybe a combination of light pollution and the camera sensor noise. But I wanted to mitigate it, so I modified my script to average the individual exposures together instead of summing them. It produces a much cleaner picture, and made it easier for Lightroom to apply filters to it:
Overall I’m excited that I got exposure stacking to work, and that with a little computer vision I’ve greatly expanded the range of subjects my camera can capture. I hope to extend these techniques further as I go on more photography adventures.